

This easy recipe creates the perfect Oreo pie crust for any pie – and it only calls for 2 ingredients!
The folks over at Oreo might have discontinued the store-bought Oreo pie crust, but that doesn’t mean you have to stop making all of your favorite Oreo crust desserts!
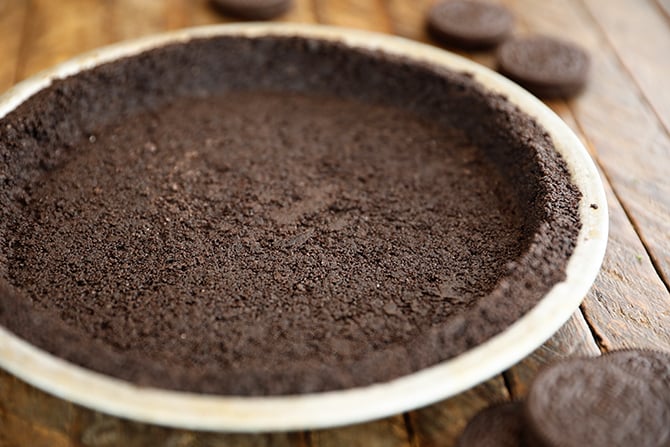
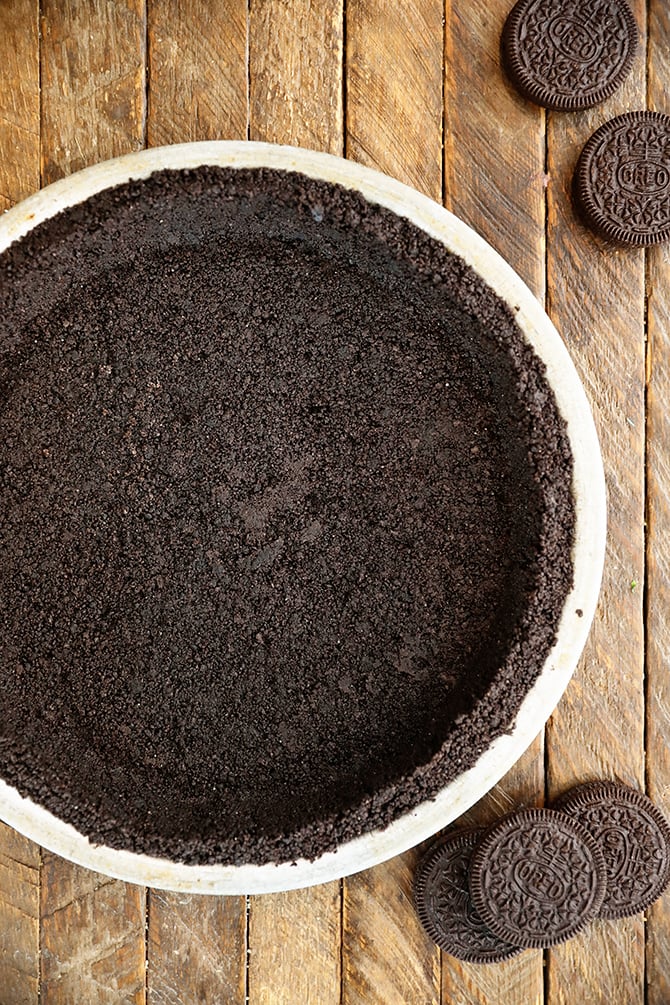
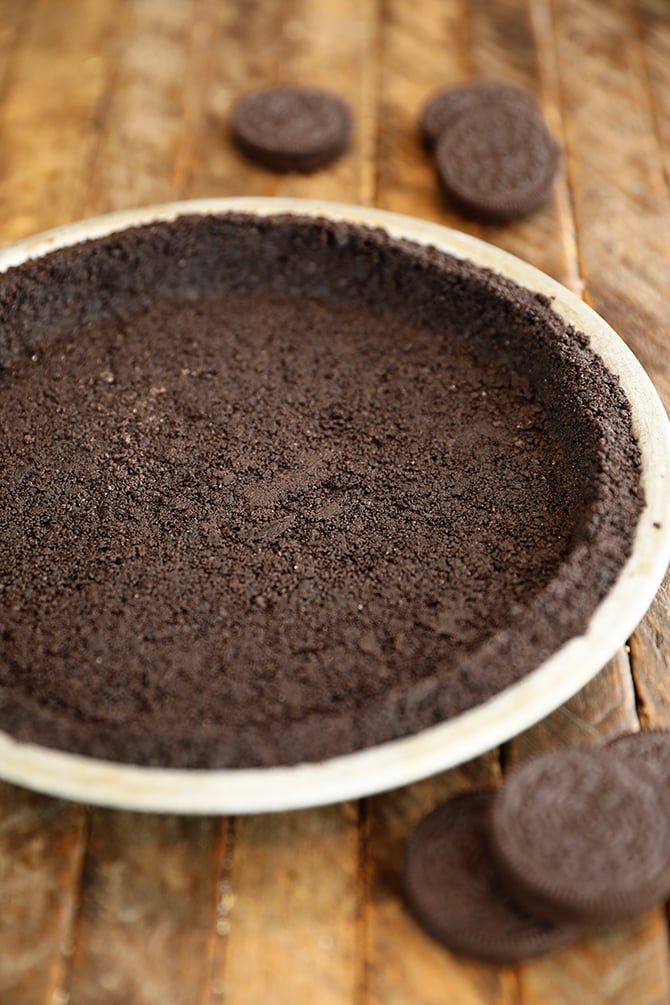
This 2 ingredient crust made from crushed Oreo Cookies is ready in less than 20 minutes and is the perfect crust for all kinds of pies – even cheesecakes!
How should I crush the Oreo cookies?
I find that crushing the Oreos in a food processor or food chopper is the easiest, but it’s not the only way. You can also place the cookies in a gallon size zip-top bag, leaving a small corner of the bag unsealed, and use a rolling pin to crush the cookies. This takes a little more effort, but also keeps you from having to wash a food processor – which can be a chore!
Do I have to scrape out the Oreo filling?
No! Use the entire cookie, including the filling, when making this crust. There’s no need to scrape out the filling. In fact, that filling gives us some of the fat we need to make this crust work.
Do I have to bake this crust?
Nope! In fact, I rarely bake it. Can you bake it? Absolutely!
If I’m using this crust for a no-bake recipe like my Easy Oreo Chocolate Pie, I simply place the prepared crust in the refrigerator for about 30 minutes to allow the butter to firm up and set the crust.
If you like a crunchier crust, you can bake it at 350°F for 8 to 10 minutes. Then just allow the crust to cool completely before using it.
Can I use a different flavored Oreo?
It seems every few months Oreo introduces a new flavor of its classic cookie. Some are great, others.. not so much. In my opinion, nothing beats the original. But, you can absolutely use other flavors of Oreos for this crust. I just recommend using classic cookies, not the Thins, Double Stuf, or Mega Stuf. The extra filling in most of those will cause your crust to be greasy and it may not set well.
Recipe Card
Easy Homemade Oreo Pie Crust
Ingredients
- 24 Oreo cookies*
- 4 tablespoons unsalted butter, melted
Instructions
- Pulse the Oreos (filling included) in a food process or chopper until you get fine crumbs. Add the crumbs to a large bowl. Add the melted butter and stir to ensure the crumbs are well coated.
- Pour the mixture into a 9-inch ungreased pie plate and carefully press the mixture evenly on the bottom and sides of the pie plate. I like to use a 1/3 or 1/4 cup dry measuring cup to press it flat.
- To set the crust, you can either bake it or refrigerate it. If I'm going to use it in a no-bake recipe, I just put it in the refrigerator for about 30 minutes to allow the butter to harden and set the crust. Otherwise, you can bake it in a 350° oven for 8 to 10 minutes, then allow it to cool completely before finishing your recipe.
Notes
Nutrition
* If nutritional values are provided, they are an estimate and will vary depending on the brands used. The values do not include optional ingredients or when ingredients are added to taste. If calorie count and other nutritional values are important to you, I recommend grabbing your favorite brands and plugging those ingredients into an online nutritional calculator.


Rate & Comment